
Last updated September 20, 2026
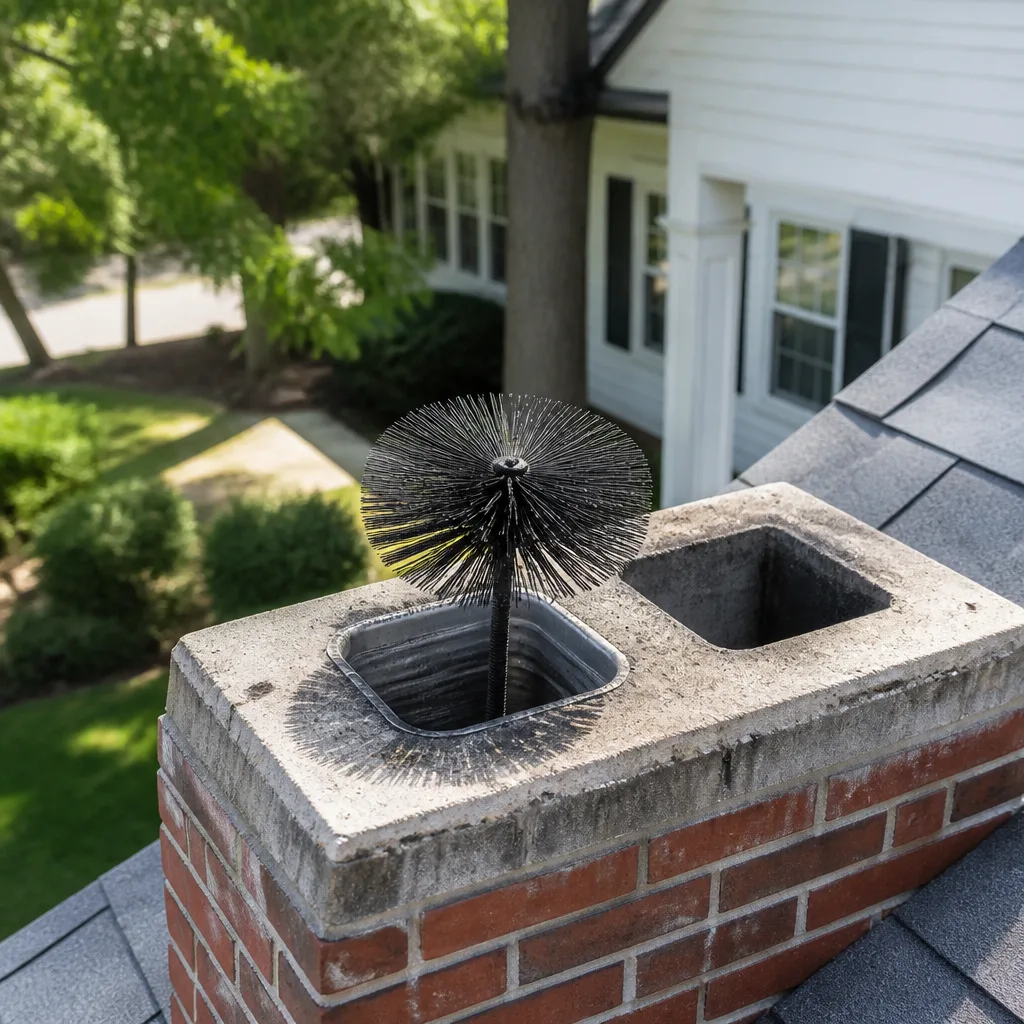
Level 1 sweep and inspection to the NFPA 211 annual standard - flue, crown, cap, and flashing checked and photographed
Chimney sweep logs do not sweep chimneys. They loosen some creosote - which then falls where a brush and vacuum still have to collect it.
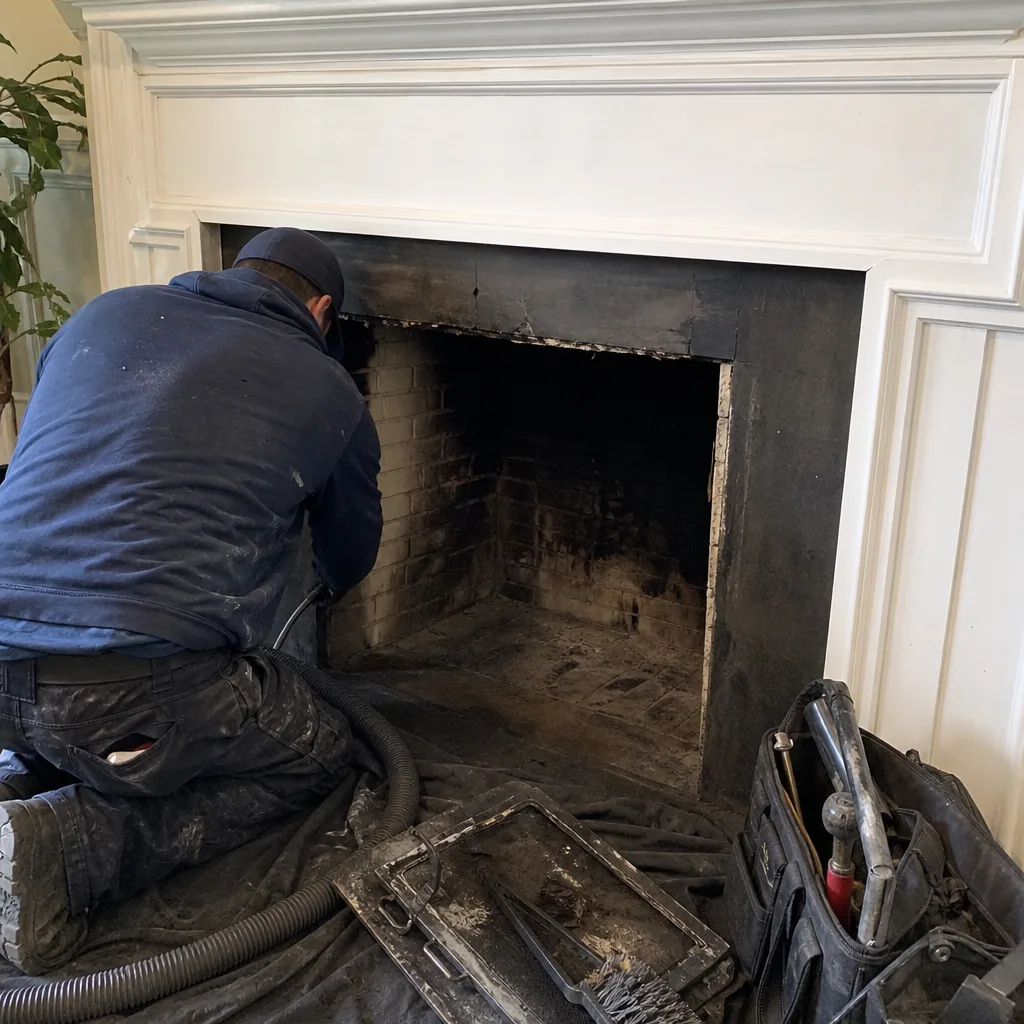 Before
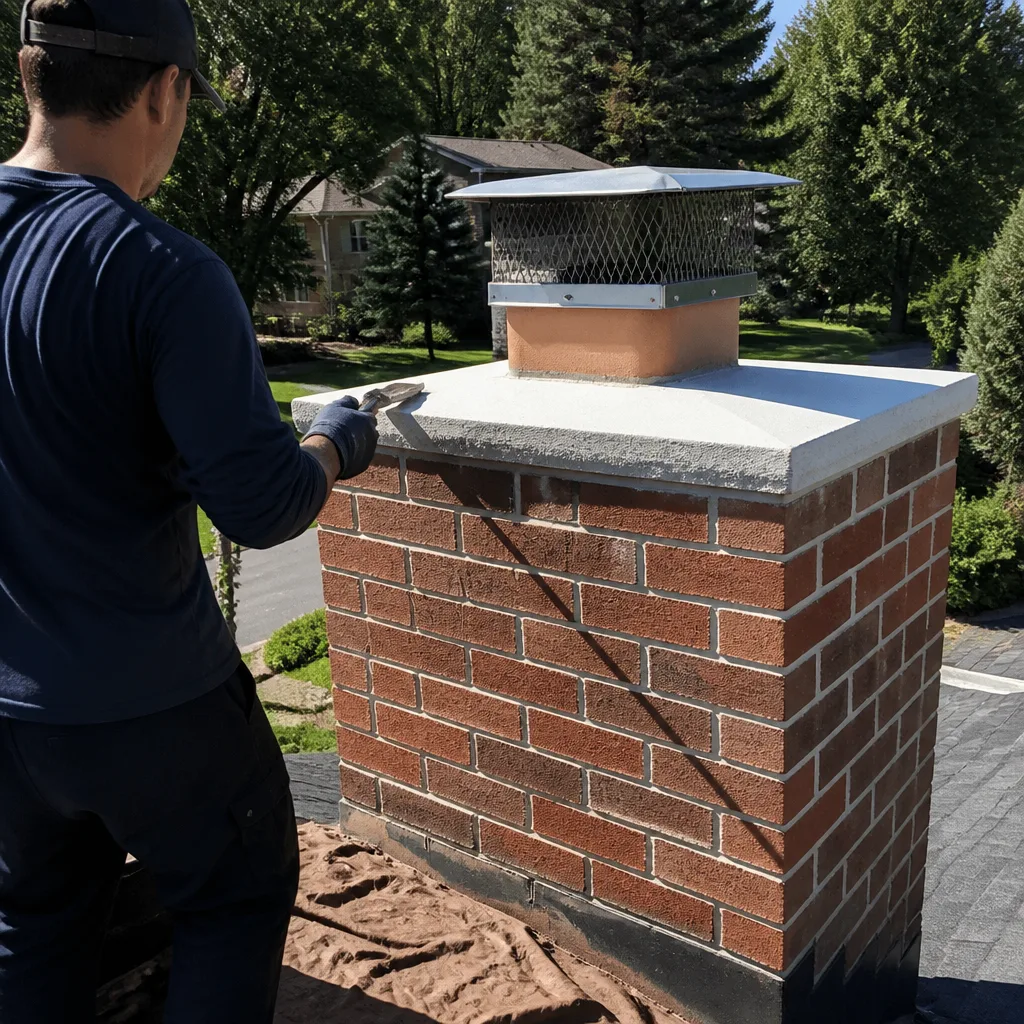 After
After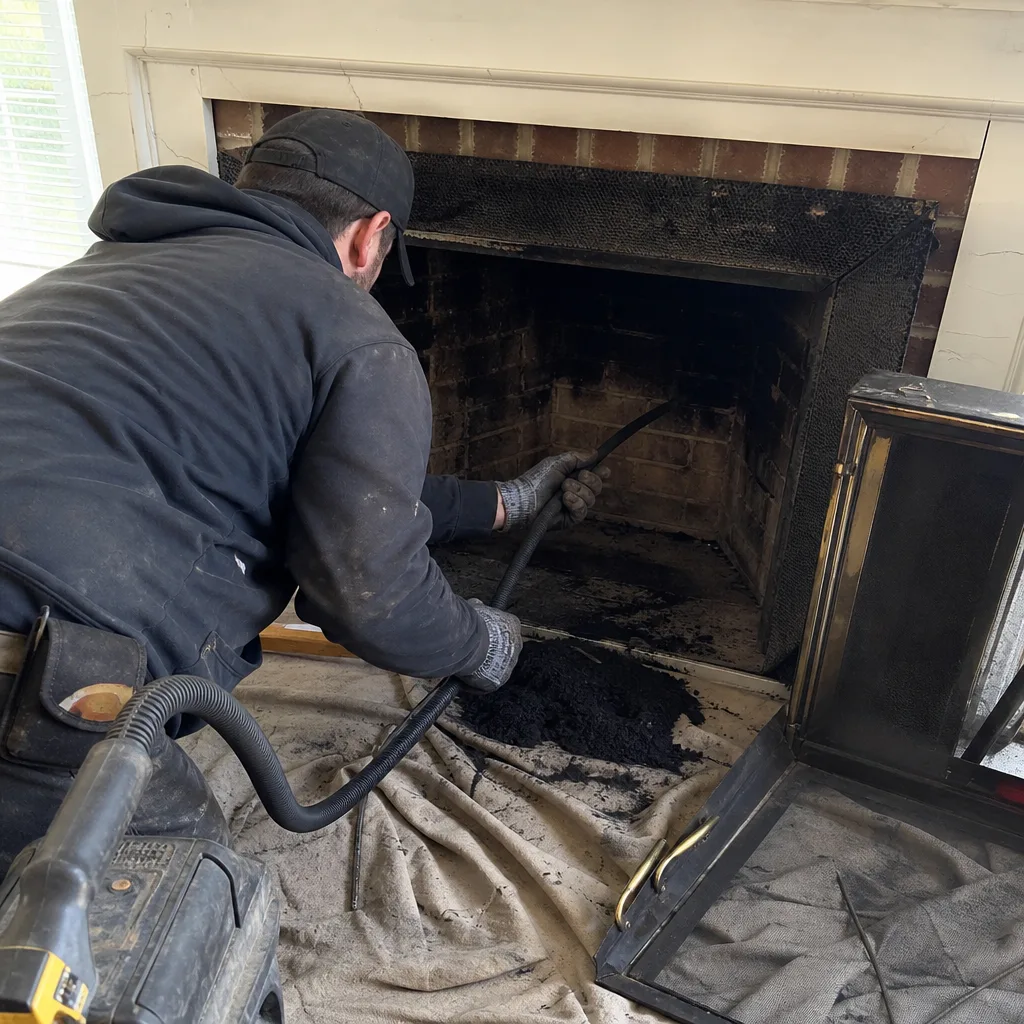 Before
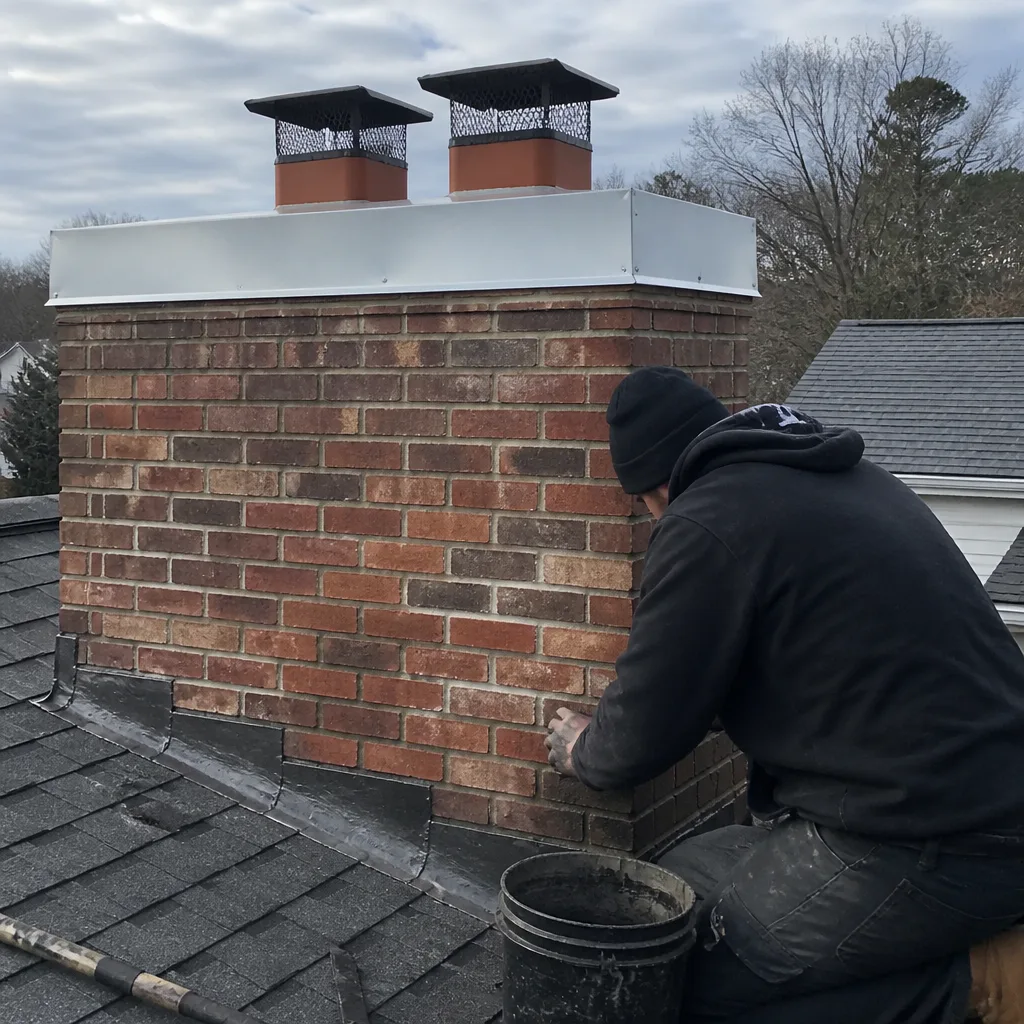 After
After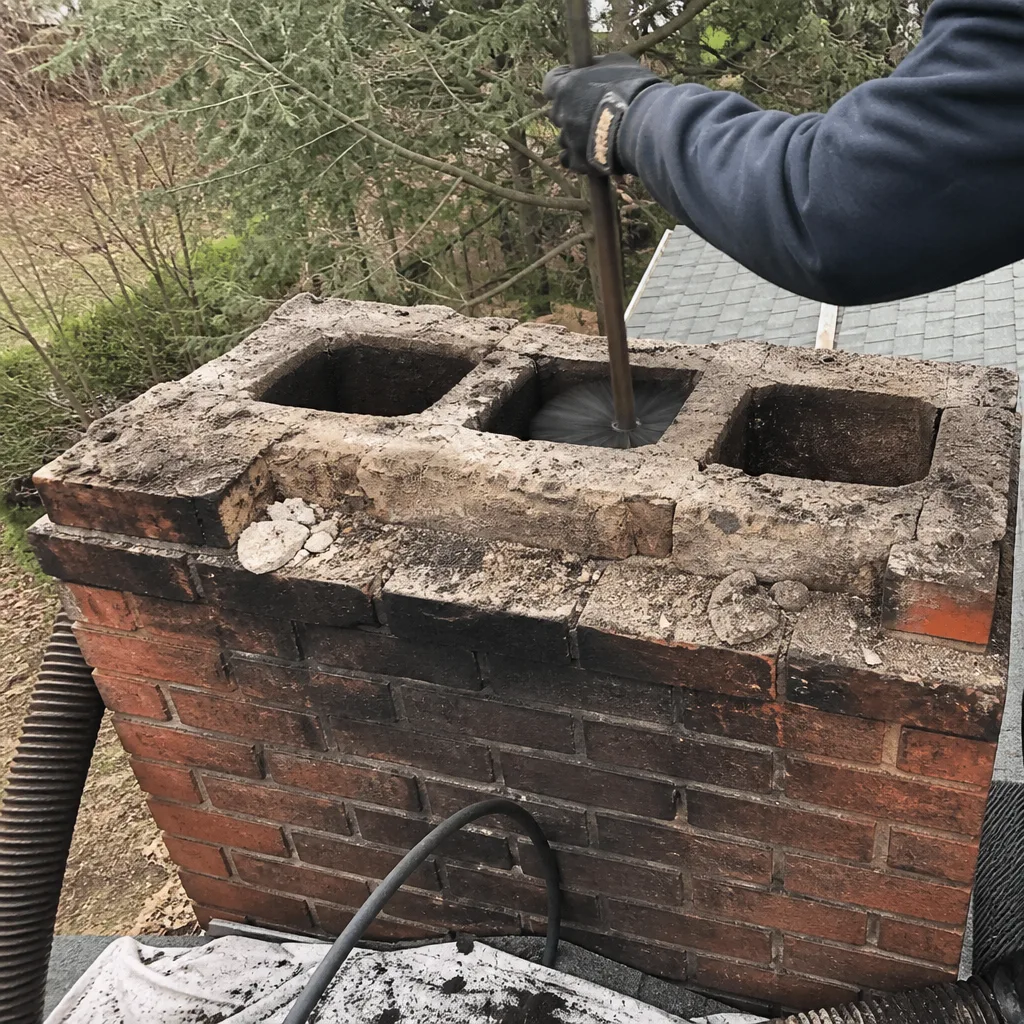 Before
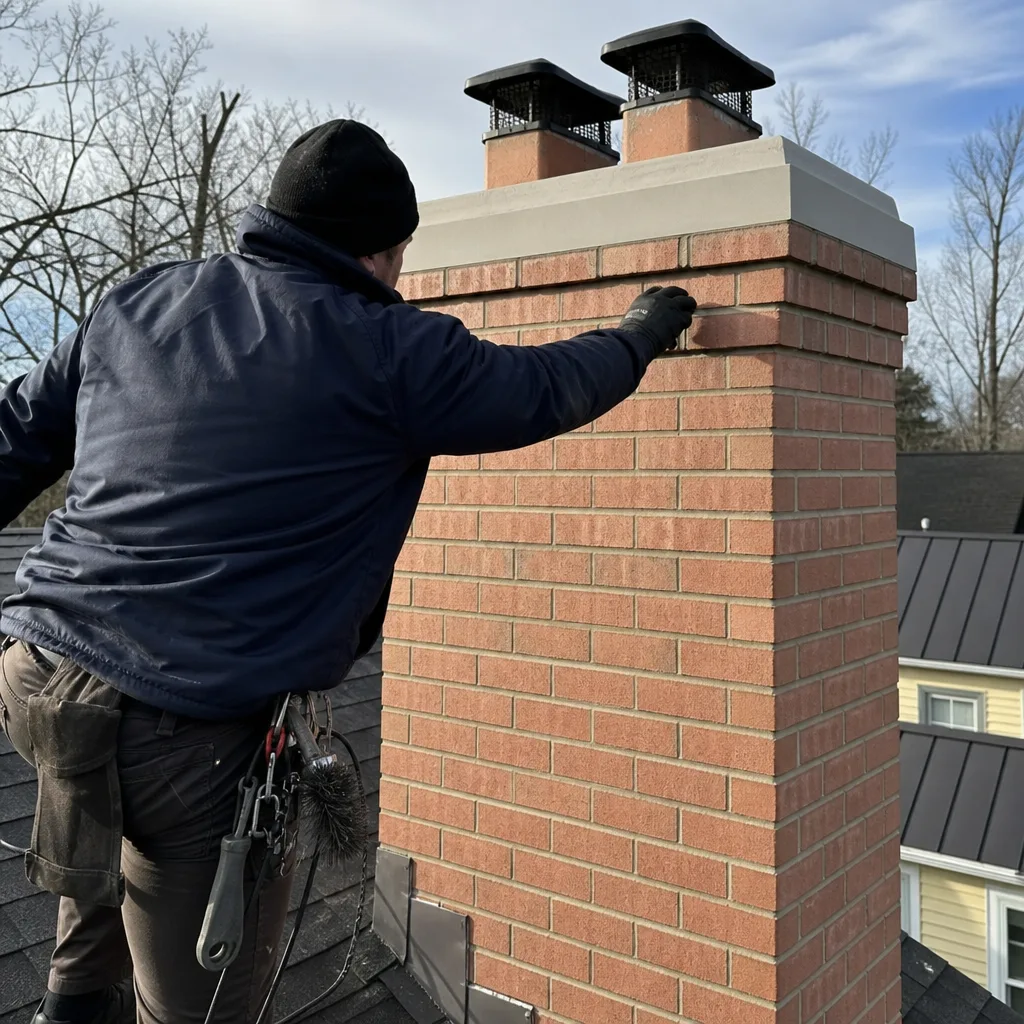 After
AfterChimney Cleaning & Sweep Maintenance Checklist for Annapolis Homeowners
Most published chimney checklists were written to reassure homeowners, not to find problems. They stop at “look for cracks” without telling you which cracks matter and which are cosmetic. That’s why we structured this guide differently. Every section below is organized around a specific failure mode: what can actually go wrong inside your flue, what you can see from the ground or the firebox, and what needs a camera to diagnose. If you own a home in Annapolis, you’re also dealing with salt air, freeze-thaw cycles, and older masonry stock that most generic checklists never account for.
Quick Answer
A working chimney maintenance checklist for Annapolis homeowners covers four failure modes: draft problems, moisture intrusion, creosote buildup, and liner deterioration. You should perform a visual check at the firebox opening after every 20 burns, inspect flashing and exterior masonry twice a year, and schedule Chimney Cleaning & Sweep services with a professional camera-scan and NFPA 211 Level 2 inspection annually. Anything involving the flue interior above the damper, the crown, or the liner requires a trained sweep; exterior visual checks and firebox observations are owner-serviceable.
Table of Contents
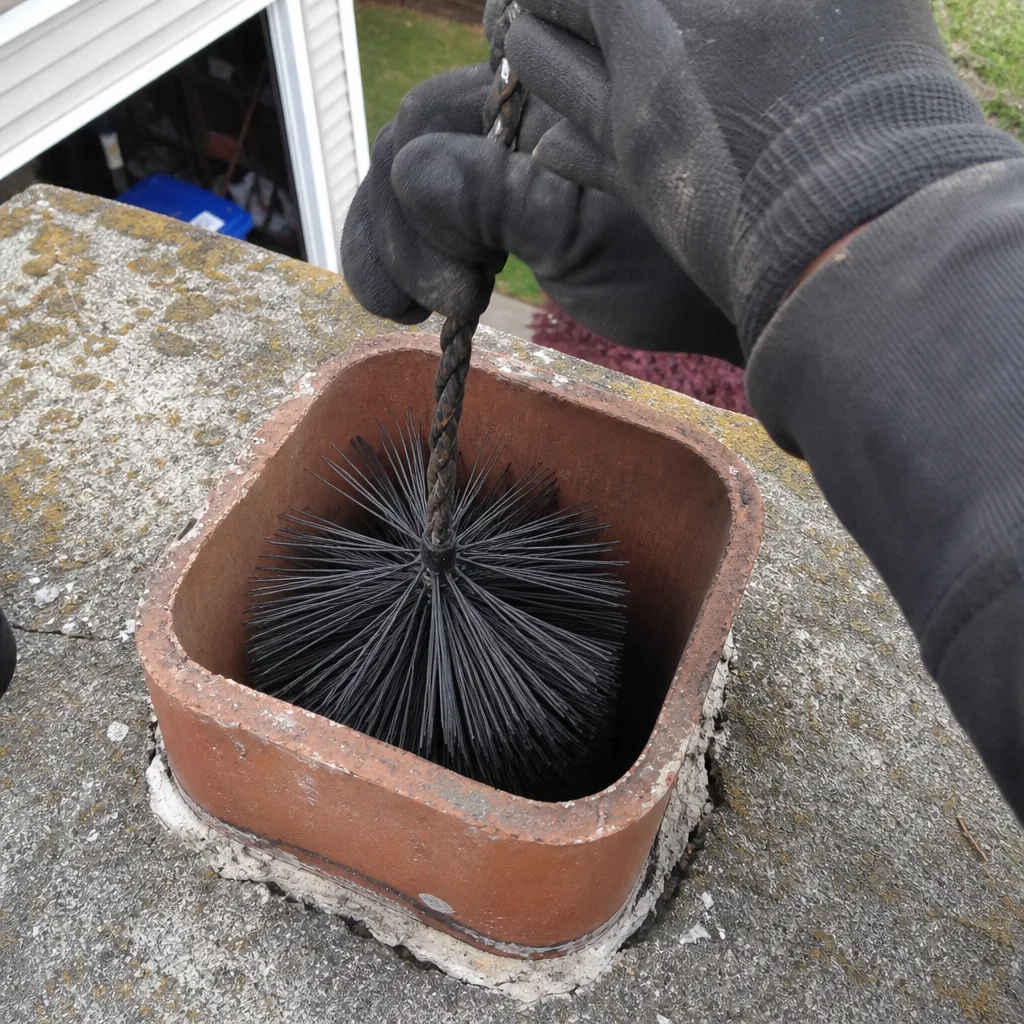
- Why This Checklist Is Organized by Failure Mode, Not by Season
- The Annapolis Salt-Air Factor: What Corrodes Faster Near the Bay
- The Between-Burns Firebox Check: What to Look For After Each Use
- Creosote Buildup: How to Spot It and Why Class Matters
- Moisture Intrusion: Flashing, Crowns, and the Freeze-Thaw Cycle
- Liner Deterioration: Catching Slow Cracks Before They Become Structural Failures
- Draft Problems: Smoke Where It Shouldn’t Be
- How to Log Your Findings for Year-Over-Year Comparison
- Which Items Are Owner-Serviceable and Which Require a Professional
- Common Mistakes to Avoid
- When to Call a Professional
- Frequently Asked Questions
- The Bottom Line
BeforeAfterWhy This Checklist Is Organized by Failure Mode, Not by Season
A chimney doesn’t fail on a calendar. It fails when water finds a path through a cracked crown, when creosote reaches a combustible thickness, when a liner seam separates, or when a damper blade corrodes past the point of sealing. Seasonal checklists create blind spots because they ask you to look at the same things every time, whether or not those things are the likely problem. A failure-mode checklist asks a different question: what’s most likely to be breaking right now, in this house, under these conditions?
In Annapolis, that question has a specific answer. Homes within a mile of the Severn River, Back Creek, or Spa Creek get constant salt-laden humidity. Homes in older neighborhoods like Murray Hill, West Annapolis, and Eastport tend to have masonry chimneys built between 1930 and 1980, often with original clay tile liners. Homes in newer developments like Kingsport or along Bestgate Road may have prefabricated metal chimneys with different failure points entirely. The checklist that works for a 1965 brick chimney in Eastport is not the same checklist that works for a 2012 factory-built chase in Annapolis Roads.
Here’s the structure we recommend, and the one we use on every chimney cleaning and sweep in Annapolis:
- Draft problems: smoke entering the room, cold air falling into the house, difficulty getting a fire started.
- Moisture intrusion: water staining on the ceiling near the flue, efflorescence on exterior brick, rust on damper hardware, spalling brick faces.
- Creosote buildup: visible black or brown deposits at the firebox opening, a strong campfire smell in warm weather, reduced draft over time.
- Liner deterioration: flaked clay tile pieces in the firebox, a visible gap in the mortar joints via camera inspection, rust-colored staining on the chimney exterior.
Each section below gives you observable symptoms you can identify on your own, plus the threshold at which you need a camera-scan inspection rather than a visual check. That line matters. Most chimney problems are invisible from the firebox because they develop above the damper, where no homeowner can look without specialized equipment.
The Annapolis Salt-Air Factor: What Corrodes Faster Near the Bay
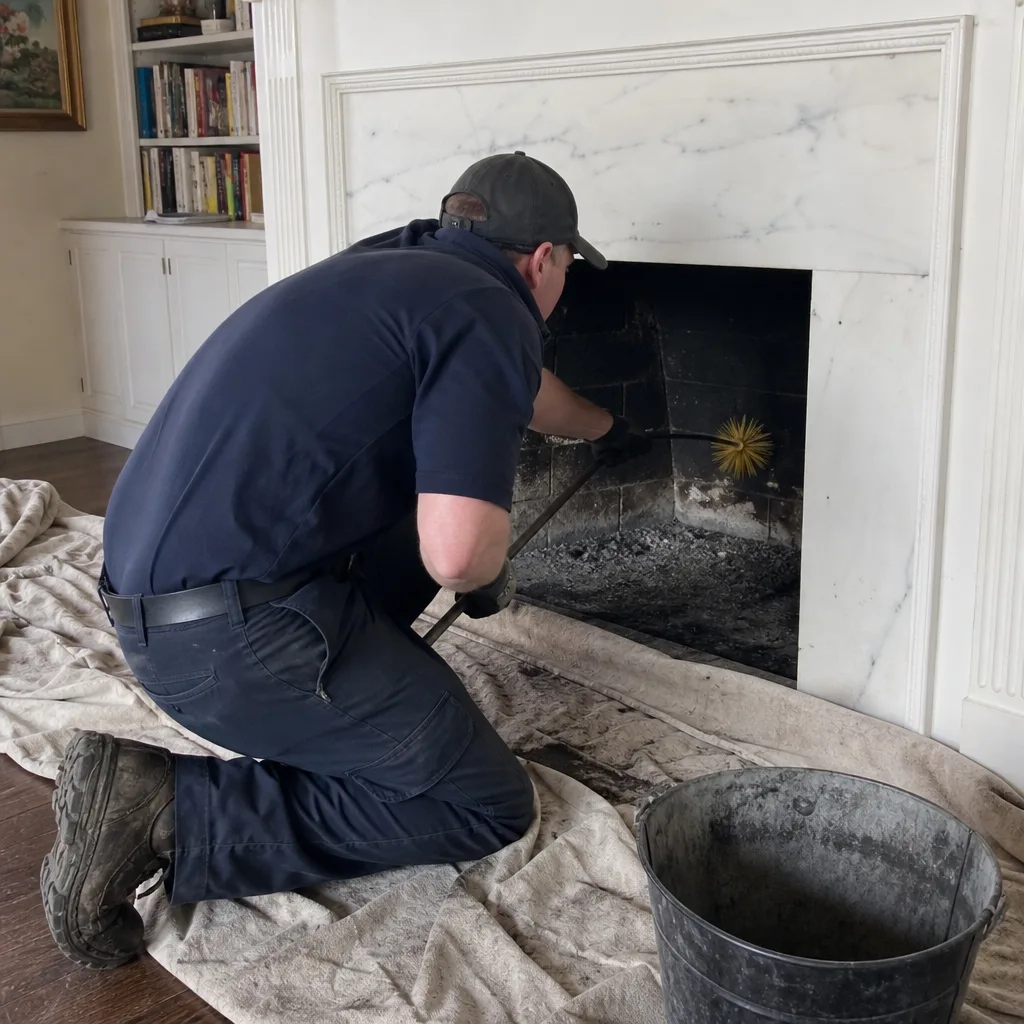
We’ve swept thousands of chimneys in Annapolis since 2009, and the pattern is consistent: the closer a house sits to the water, the faster its metal components fail. Salt in the air accelerates oxidation on damper blades, chase covers, flashing, and rain caps. A galvanized steel chase cover that lasts 25 years in Davidsonville might last 12 in Eastport. A cast-iron damper that functions fine for decades in Crownsville can seize up in eight years on a water-facing lot in Annapolis Roads.
This means your inspection interval should change based on proximity to the Bay, not based on a generic national recommendation. If you live within one mile of open water, we recommend checking these specific components every six months:
- Damper hardware: open and close the damper fully. Listen for grinding or stiffness. Rust on the hinge pins or the blade edge is the first sign of salt-air corrosion.
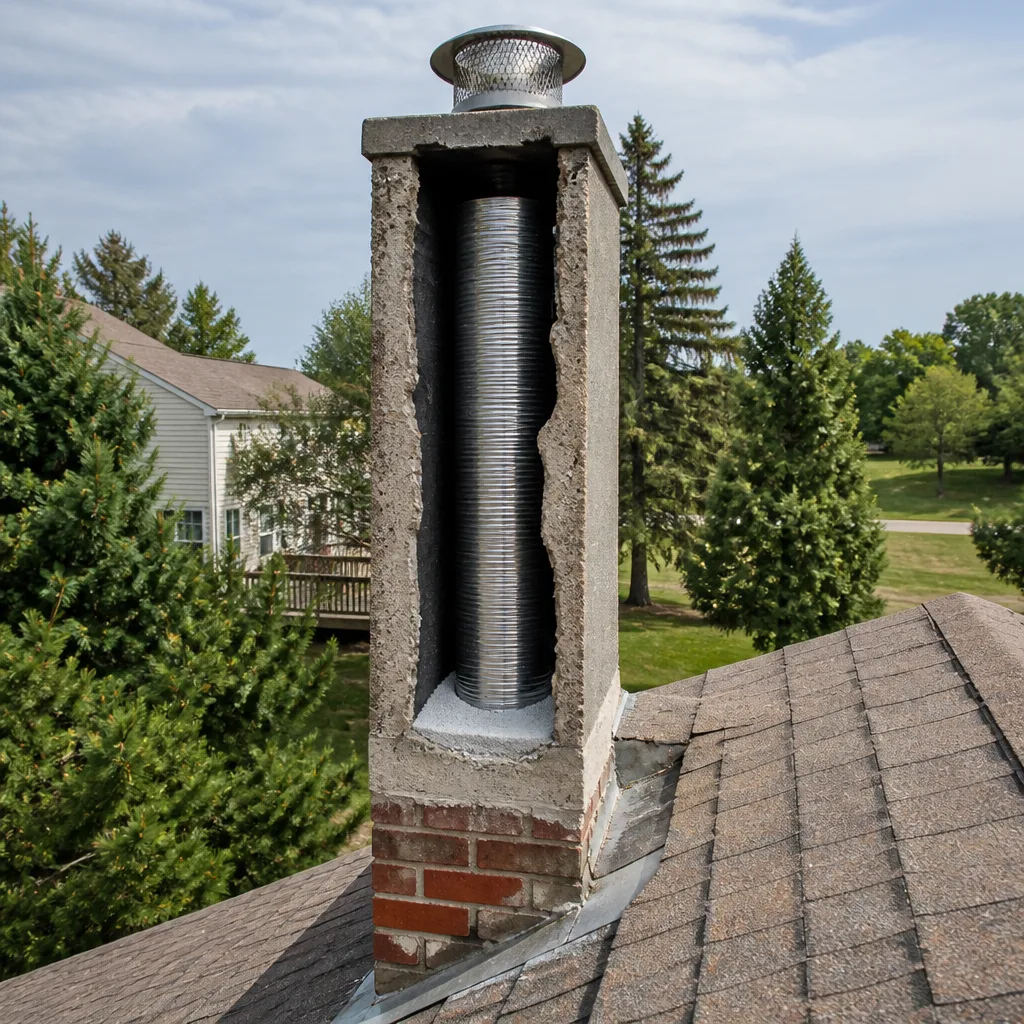
- Chase covers: for prefabricated chimneys, look up at the metal cover where the chimney exits the roofline. Rust spots, especially around screw holes and seams, signal that water is getting underneath.
- Flashing: the metal where the chimney meets the roofline. In Annapolis, we see step flashing lift at the corners first. Look for gaps, missing sealant, or rust-colored staining on the shingles adjacent to the chimney.
- Rain caps and spark arrestors: check for corrosion at the mesh-to-cap seam. A salt-corroded rain cap can drop pieces of metal mesh into the flue, which then block draft and create a fire hazard.
If you’re unsure what you’re looking at, take photos from the ground with your phone and compare them six months later. A slow-developing rust line on a chase cover is far cheaper to fix than the water-damaged chase interior and surrounding framing that follows it.
For homes on the water, we also recommend more frequent professional inspections. The NFPA 211 standard requires a Level 2 inspection annually for most homes, but in salt-heavy Annapolis microclimates, we often advise a camera-scan check every 12 months even if you’re a light burner, because corrosion moves fast once it starts.
The Between-Burns Firebox Check: What to Look For After Each Use
This is the one habit that catches problems before they become structural. After every 20 burns, or at minimum once a month during burning season, do a five-minute check at the firebox opening. You don’t need any tools except a flashlight and the willingness to actually look.
- Look for flaked clay tile pieces on the firebox floor. If you see small, flat, terra-cotta-colored fragments, that’s liner material breaking down somewhere above the damper. A few flakes can be normal from an older chimney. A recurring pile after each fire is not.
- Inspect the damper blade and seat. With the damper open, shine your flashlight up at the blade edges. Look for rust, warping, or a blade that no longer seats flush when closed. A damper that doesn’t seal lets conditioned air escape year-round and lets cold air pour into the room at night.
- Check the firebox walls for cracks in the refractory panels. Hairline cracks under 1/16 inch are cosmetic in most cases. Cracks wide enough to fit a dime, or cracks that have shifted so one edge is proud of the other, mean the firebox is moving and heat is reaching the framing behind it.
- Look for staining above the firebox opening. Dark streaks on the face brick or stone above the fireplace indicate smoke spilling into the room, which means a draft problem or a partially obstructed flue.
- Smell the firebox when it’s cold. A strong campfire odor when there’s no fire burning is a sign of creosote accumulation or a damper that isn’t sealing. In humid Annapolis summers, trapped creosote absorbs moisture and the smell intensifies. That’s not just unpleasant; it’s a signal that the flue needs a cleaning before next season.
If you find any of these signs, write them down. Date it. Take a photo. The next section explains why logging matters, but the short version is this: a slow-developing liner crack looks like nothing in month one and like a $6,000 replacement in month fourteen. Year-over-year comparison is how you catch it in month three.
For a more thorough breakdown of what a professional sweep covers, see our page on chimney cleaning and sweep services in Annapolis.
Creosote Buildup: How to Spot It and Why Class Matters
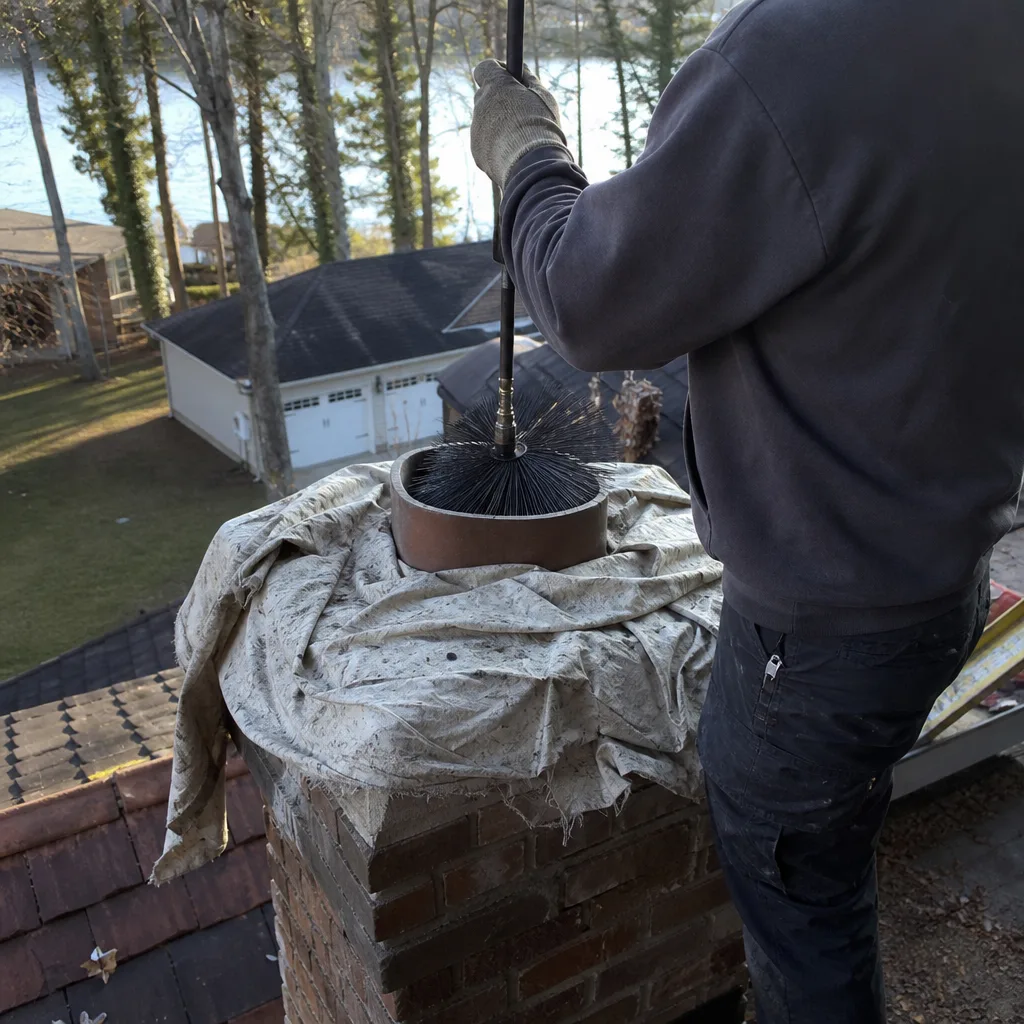
Creosote is what’s left after wood smoke condenses on the cooler walls of your flue. Every fire produces it. The question is how much, what form it takes, and whether it has reached a dangerous thickness. The chimney industry classifies creosote into three stages:
- Class I (first degree): a light, dusty, brown or gray soot that brushes off easily. This is normal accumulation from a season of burning.
- Class II (second degree): flaky, shiny black deposits that look like corn flakes. This is harder to remove and can restrict draft. It burns hot and fast if ignited, making it a fire hazard.
- Class III (third degree): a thick, tarry, glossy coating that looks like hardened road tar. This is concentrated fuel. A chimney fire with Class III creosote burns intensely and can crack a clay liner or warp a metal one.
- Efflorescence: a white, powdery stain on brick or stone. It means water has moved through the masonry and dissolved salts, then deposited them on the surface as it evaporated. Efflorescence is evidence that water is already inside the structure.
- Spalling: brick faces that are flaking, chipping, or falling off entirely. This is freeze-thaw damage in action. Spalled brick cannot protect the masonry behind it.
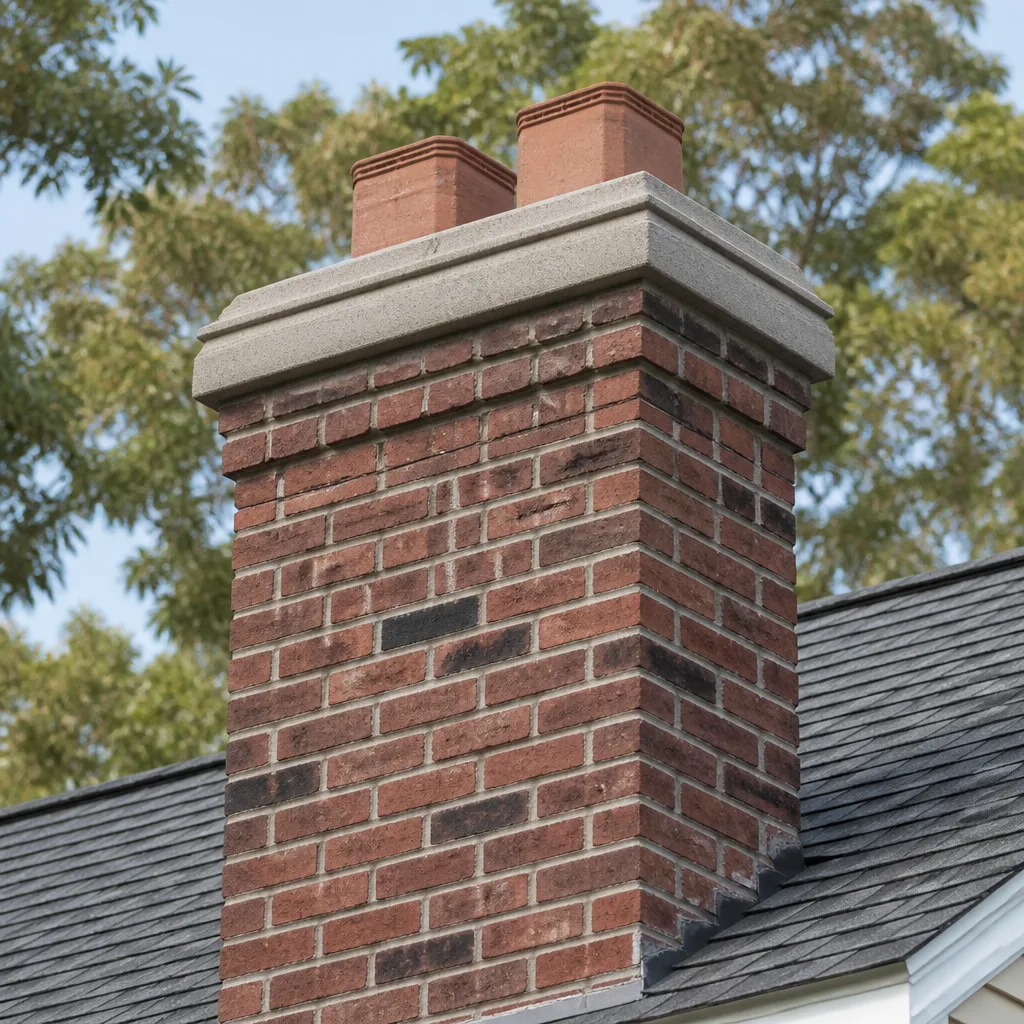
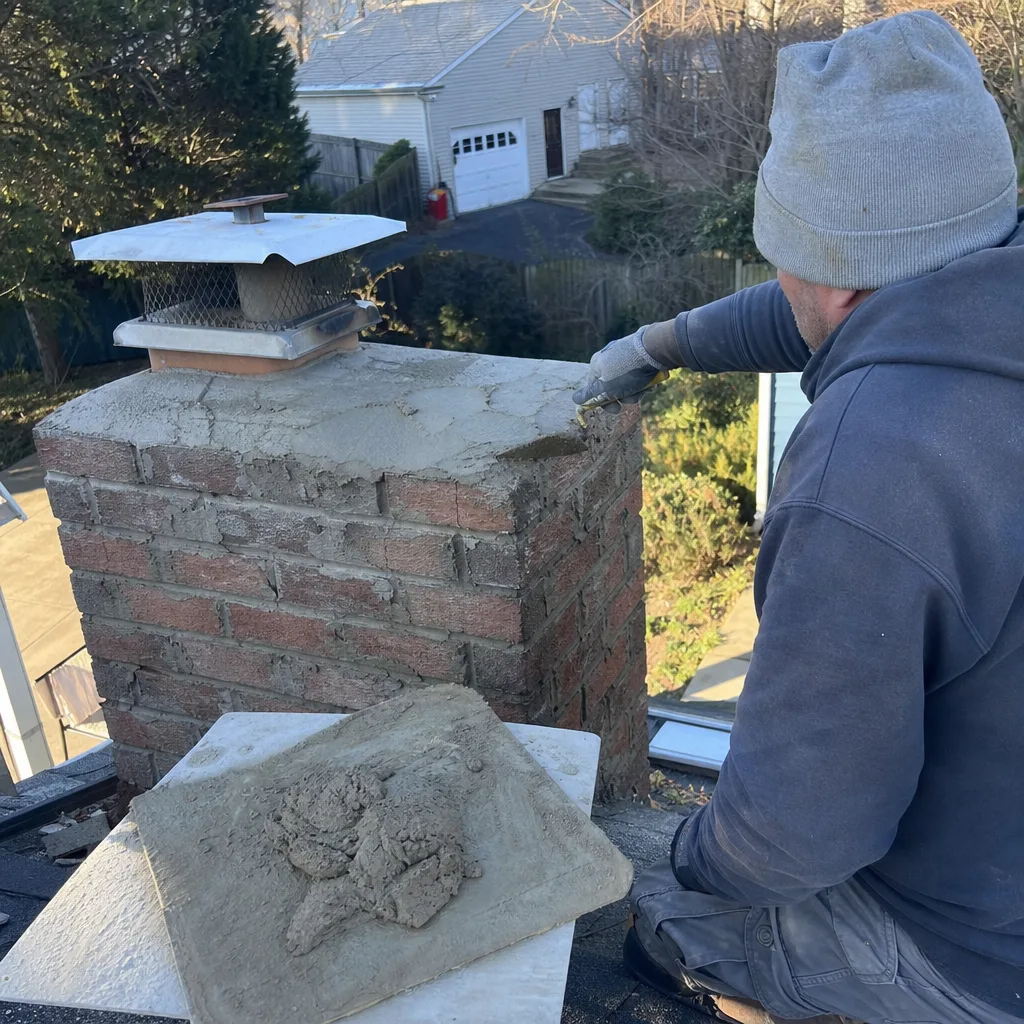
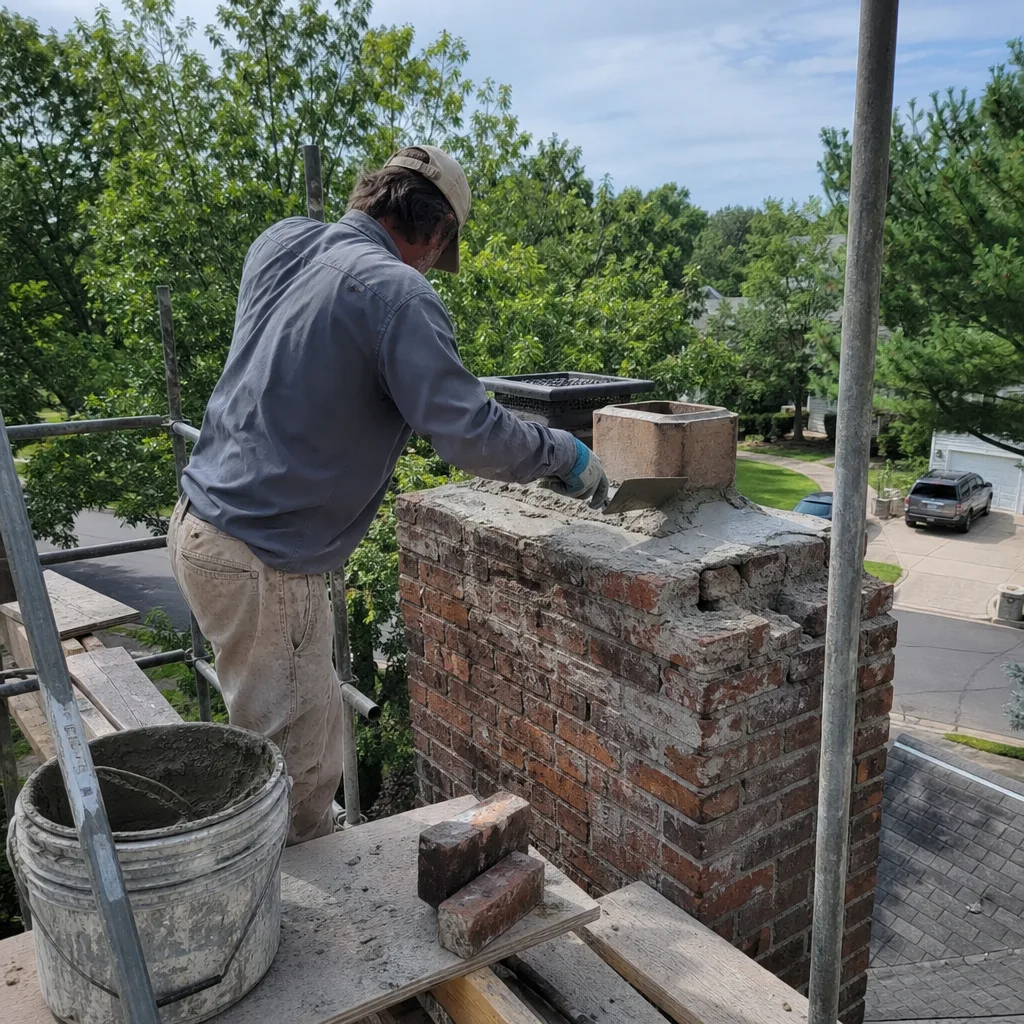
- Cracked or missing crown: the crown is the concrete or mortar slab that caps the top of a masonry chimney. Look for visible cracks, especially around the flue tile opening. A cracked crown lets water run directly down the flue walls.
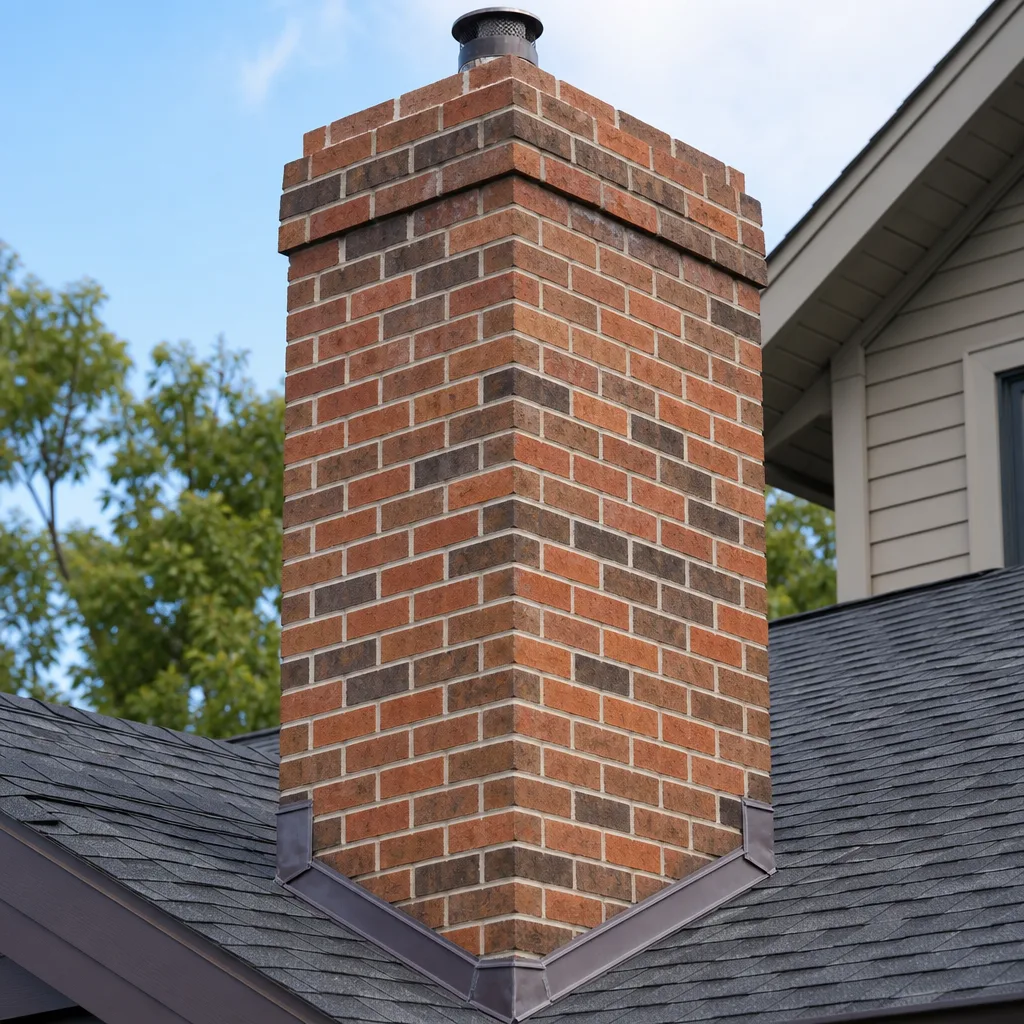
- Flashing gaps: step flashing and counter-flashing should sit tight against both the chimney and the roofing material. If you can see gaps from the ground, water is getting in every time it rains.
- Rust streaks: orange or brown staining running down the chimney face or the roof near the chimney means a metal component is corroding, usually the flashing or a chase cover on a prefab unit.
- Clay tile liners (common in pre-1980 masonry chimneys): these crack from thermal stress, especially after a chimney fire or decades of heating and cooling cycles. The cracks are typically vertical, and they open and close with temperature changes. That’s why a cold inspection can miss what a mid-burn inspection catches.
- Stainless steel liners (common in retrofits or newer construction): these fail at the seams, usually from corrosion or poor installation. The seam opens up and creates a gap where heat and gases escape.
- Terra cotta with mortar joints: the tiles themselves may be intact, but the mortar between them erodes over time, especially if the chimney has been exposed to water. Gaps between tiles let heat reach the masonry directly.
- Firebox observations (every 20 burns): note any flakes, cracks, staining, or smells. Take a photo from the same angle each time.
- Exterior visual check (twice a year, spring and fall): note any new efflorescence, spalling, flashing gaps, or rust streaks. Take photos from the ground at the same spots.
- Damper operation (every fire): note if it’s getting harder to open or close, or if it no longer seals tightly. A stiff damper today is a seized damper in two seasons.
- Burning habits (every fire): note what you burned and how it behaved. Unseasoned wood, a smoldering fire, or a fire that struggled to catch are all data points that help a sweep diagnose creosote or draft issues.
- Professional inspection records (every visit): keep the camera footage, the written scope, the written price, and the before/after photos together. This is the year-over-year comparison that matters most.
- Visual firebox checks between burns
- Exterior visual inspections from the ground
- Testing damper operation by hand
- Logging findings and photos for comparison
- Checking for visible efflorescence, spalling, and flashing gaps from the ground
- Keeping the firebox clean of ash and debris between professional cleanings
- Any inspection or cleaning above the damper: the flue interior is not visible from the firebox, and climbing onto a roof to access the chimney top is genuinely dangerous work
- Removing Class II or Class III creosote: it requires rotary brushes, chemical treatments, and often multiple passes
- Liner inspection and replacement: no homeowner can see a liner crack without a camera, and liner installation involves heat, clearance, and code requirements
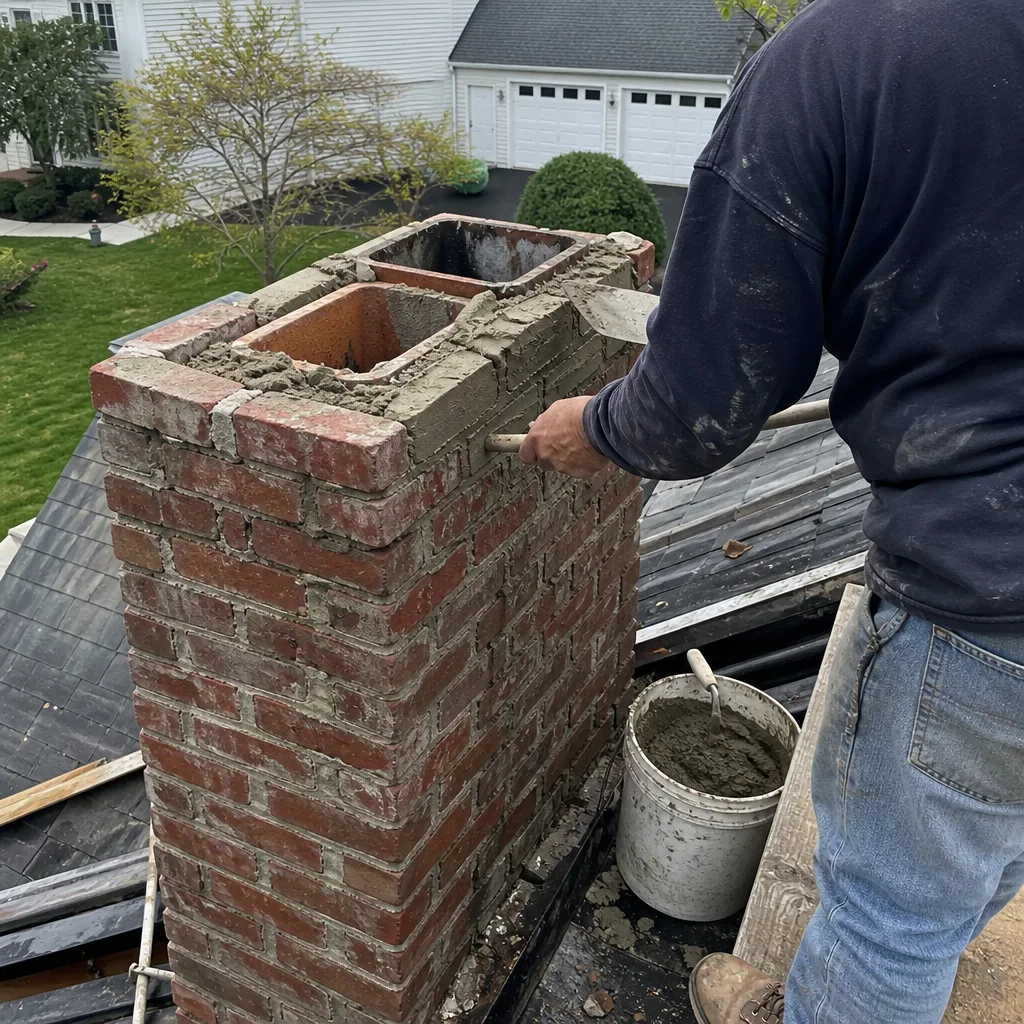
- Crown repair or replacement: the crown is a structural component, and a poorly done crown repair fails within a season or two
- Flashing repair: it requires working at the roofline, removing and replacing roofing material, and sealing correctly the first time
- Damper replacement or repair: damper hardware varies by manufacturer, and a seized or rusted damper often needs to be matched to the existing firebox
- Burning unseasoned wood because it’s cheap or available. Green wood produces dramatically more creosote than seasoned wood, and on the humid Annapolis peninsula, that creosote absorbs moisture and turns into a tarry, hard-to-remove mess. Buy wood in spring and stack it correctly for next season.
- Ignoring a cold-weather smell in the firebox. A campfire smell when there’s no fire is a sign of creosote buildup or a damper not sealing. It doesn’t improve on its own, and it’s warning you about a condition that gets more expensive the longer you wait.
- Painting over efflorescence instead of finding the water source. Efflorescence means water is moving through the masonry. Paint seals it in, traps the moisture, and accelerates spalling. The water path has to be found and fixed.
- Assuming a chimney sweep and a chimney inspection are the same thing. A sweep removes creosote. An inspection assesses condition. Most older chimneys in Annapolis need both on the same visit, but they address different problems.
- Waiting until September to schedule a sweep. Every sweep in Anne Arundel County is booked by September. Schedule in spring or summer, when the flue is dry, the creosote is easier to remove, and you’ll actually get the appointment time you want.
- Replacing a rusted rain cap with the cheapest option at the hardware store. Cheap rain caps corrode fast in salt air and can drop debris into the flue. The right cap for an Annapolis water-facing home is stainless steel, sized correctly for the flue.
- Skipping the photo record after a professional visit. If the company you hired won’t show you camera footage or provide a documented photo record of the work, you can’t verify what was done. Written documentation before and after is not optional. It’s the entire basis of accountability.
From the firebox, you can’t see most of the creosote that matters. What you can do is look at the damper area and the first few feet of flue above it with a flashlight. If you see shiny black flakes, that’s at least Class II and you should schedule a sweep before your next fire-see our Chimney Cleaning Warning Signs: A Annapolis Homeowner’s Reference Guide for more detail. If you see thick, glossy, tar-like buildup, stop burning immediately and call for a professional cleaning.
The factors that accelerate creosote in Annapolis homes are the same ones we see everywhere, with one local twist. Burning unseasoned wood is the biggest driver, followed by smoldering fires with insufficient air. The local twist is humidity: in a damp climate like ours, creosote absorbs moisture from the air during the off-season, which makes it smell, expands it, and makes it harder to remove. That’s one reason we recommend a spring or summer sweep rather than waiting until September, when every sweep in Anne Arundel County is booked solid and your flue has spent three humid months stewing in its own residue.
Moisture Intrusion: Flashing, Crowns, and the Freeze-Thaw Cycle
Water is the enemy of every chimney in Annapolis. Not fire. Water. It gets in through failing flashing, cracks in the crown, spalling brick faces, and missing or damaged rain caps. Once inside, it does its damage slowly and invisibly: dissolving mortar joints, rusting the damper, saturating the flue liner, and rotting the framing where the chimney passes through the roof and walls.
The freeze-thaw cycle makes it worse. Annapolis sees enough winter nights below freezing that any water sitting in a masonry crack expands when it freezes, widening the crack each time. A hairline crack in the crown becomes a 1/8-inch crack over one winter, then a 1/4-inch crack the next. After three or four winters, the crown is structurally compromised and water is running into the flue.
Here’s what to look for on the exterior of your chimney, from the ground or with binoculars:
None of these are owner-serviceable repairs. But identifying them from the ground is absolutely owner-serviceable, and it’s where the checklist earns its keep. When you call a sweep because you’ve already spotted spalling on the south face and staining near the flashing, you get a focused inspection instead of an open-ended one. For Annapolis homes in Historic District zones, where exterior work may require review by the Historic Preservation Commission, catching masonry damage early also keeps you ahead of a process that can add weeks or months to a repair timeline.
If moisture has already caused damage to the firebox or flue, our chimney repair services in Annapolis page covers what a typical restoration involves and what it costs.
Liner Deterioration: Catching Slow Cracks Before They Become Structural Failures
The flue liner is the most important component you’ll never see without a camera. It contains the heat, channels the smoke, and protects the surrounding structure from what’s happening inside the chimney. When it fails, it fails in two dangerous ways: heat and gases reach combustible framing, or carbon monoxide leaks into the house.
There are three common liner types in Annapolis homes, and each fails differently:
The observable symptom you might catch on your own is flaked clay pieces in the firebox, which we mentioned in the between-burns check. Another sign is rust-colored staining on the exterior chimney face, which can indicate water mixing with creosote and penetrating through a liner gap to the masonry. But the definitive diagnosis requires a camera down the flue. That’s the NFPA 211 Level 2 standard, and it’s the default on every visit we make at Level Two Chimney Annapolis. The camera sees what a flashlight cannot: the full length of the liner, every seam, every crack, every gap.
One thing to understand clearly: a liner crack is never a cosmetic problem. A cracked clay liner means the chimney no longer contains its own heat. The house framing near the flue, which may be inches away, was never designed to handle direct thermal exposure. The fix is a new liner, either a stainless steel system from a manufacturer like DuraFlex or a resurfacing treatment like HeatShield. What it costs depends on what the camera finds, and you should have the footage on file before anyone quotes you a number.
Draft Problems: Smoke Where It Shouldn’t Be
A chimney that drafts properly pulls combustion gases up and out. When it doesn’t, you get smoke spilling into the room, cold air falling down the flue when the fireplace isn’t in use, and fires that are hard to start and keep going. Draft problems have several distinct causes, and the fix depends entirely on which one is at work.
The most common cause in Annapolis homes is blockage. Bird nests, squirrel debris, fallen leaves, pieces of a rusted rain cap, or accumulated creosote can partially or fully obstruct the flue. A partially blocked flue drafts poorly. A fully blocked flue pushes smoke into the house the moment you light a fire.
The second most common is negative air pressure in the house. Tightly sealed homes, particularly newer construction in Annapolis, create an environment where the chimney can’t get enough makeup air to pull a draft. Running a kitchen exhaust fan or a whole-house fan while burning makes it worse. The fix is often as simple as opening a window an inch, or as involved as installing a makeup air system.
The third is chimney height or flue sizing. A flue that’s too short for the roof pitch, or too large for the firebox it serves, drafts poorly no matter what you do. This is a design problem, not a cleaning problem, and it requires a professional assessment to fix correctly.
The fourth is a damper that doesn’t open fully or won’t stay open. Salt-air corrosion on damper hardware in water-facing Annapolis properties is a frequent culprit. If your damper blade is rusted partway open, or the handle mechanism is seized, you’re getting partial draft at best.
If you’re dealing with smoke in the house, stop burning until the cause is identified. Carbon monoxide is invisible, odorless, and deadly, and a chimney that’s spilling smoke is a chimney that can spill CO. This is one of the cases where the line between owner-serviceable and professional is absolute: a blocked or poorly drafting flue requires a camera-scan inspection before you burn again.
For fireplaces that need more than just a cleaning, see our fireplace services in Annapolis page for what a full assessment covers.
How to Log Your Findings for Year-Over-Year Comparison
The difference between catching a liner crack in month three and discovering it in month fourteen is a log. Not a fancy log. A note on your phone, a spreadsheet, a paper checklist taped inside a cabinet door. What matters is that you record the same things on the same schedule and keep the records somewhere you’ll actually look.
Here’s what we recommend logging, and how often:
One habit we encourage for Annapolis homeowners specifically: photograph the south face of your chimney every spring. The south face takes the most direct sun, which means the most thermal cycling, which means it’s usually the first place freeze-thaw spalling shows up. A six-photo time series of the south face is invaluable when a masonry contractor needs to know how fast the damage is progressing.
Clause 4 of the Haven Standard requires a photo record on every job we perform. That record is yours to keep, and it becomes the baseline for every future inspection. If you switch companies, take your archive with you. A competent sweep should be able to read a chimney’s history from good documentation.
Which Items Are Owner-Serviceable and Which Require a Professional
Most homeowners we meet in Annapolis want to do what they can themselves and pay a professional for the rest. That’s a reasonable approach, and it works well as long as the line between the two is drawn in the right place. Here’s where we draw it.
Owner-serviceable:
Professional only:
The safety line is simple: if it requires a ladder beyond a step stool, or involves the flue interior above the damper, it’s professional work. Roof falls and flue fires are the two most common causes of chimney-related injury and property damage. Training and equipment exist for a reason.
Common Mistakes to Avoid
When to Call a Professional
Call a chimney professional when you see flaked clay tiles in the firebox, smell creosote when there’s no fire, spot smoke spilling into the room, find efflorescence or spalling on exterior masonry, or notice rust streaks near the flashing or chase cover. Call immediately if a fire struggles to draft, or if you see shiny black deposits at the damper. These are not conditions that resolve with time. They are conditions that get more expensive, and in the case of a blocked or cracked flue, more dangerous. Level Two Chimney Annapolis offers free estimates in Annapolis. Call (443) 274-4231 and we’ll put the camera down the flue, show you what we found, and hand you a written price before any work starts.
Frequently Asked Questions
The NFPA 211 standard, which most Annapolis building codes reference, requires a chimney inspection annually and a sweeping whenever creosote reaches 1/8 inch of accumulation. For most Annapolis homeowners who burn regularly from October through March, that translates to a sweep once a year. Homes on the water, or homes burning unseasoned wood, may need two visits per season. Call (443) 274-4231 and we’ll assess your specific burning pattern and give you a schedule that fits your actual usage, not a generic recommendation.
A standard chimney cleaning and sweep in Annapolis typically runs $180 to $340 for a single flue fireplace, depending on creosote class, flue height, and whether the chimney has been maintained regularly. A camera-scan inspection, written scope, and documented photo record should be included at that price, not added as a line item. If you’ve been quoted more than $500 for a basic sweep without major repairs, get a second opinion. Bring us any written estimate and we’ll review it for free.
You need a new liner only if the camera inspection shows a crack through the tile or metal, a separated seam, or a gap at a mortar joint. Not dark staining, not general age, not “it’s getting old.” A legitimate liner recommendation comes with footage you can watch yourself. Clause 4 of the Haven Standard requires that photo record on every job. If a company recommends a liner without camera evidence, get a second opinion before spending a dollar.
Depends on what’s inside your flue. If you have Class I creosote and no moisture intrusion, skipping a year probably means a heavier cleaning next time. If you have Class II or III creosote, or a developing liner crack, or water getting in through the crown, skipping a year means a more expensive repair and a higher fire risk. The camera answers this question. A one-hour inspection tells you where you stand, and in Annapolis, it’s cheaper than guessing.
It is, if you’re within a mile of open water. Metal components like damper blades, chase covers, and flashing corrode measurably faster near the Bay and the rivers that feed it. Homes in Eastport, Annapolis Roads, and waterfront Murray Hill show corrosion at roughly double the rate of inland Anne Arundel County homes. The fix isn’t more expensive, but the inspection interval should be shorter. Call (443) 274-4231 for an assessment specific to your home’s location.
You can remove loose Class I soot with a brush, but you cannot remove Class II or Class III creosote, and you cannot inspect the liner for cracks without a camera. If your chimney has been burning seasoned wood and swept annually, a DIY brush pass between professional visits is low risk. If you’ve skipped years, burned green wood, or don’t know what class of creosote you’re dealing with, hire a professional. The creosote you can’t reach is the creosote that causes chimney fires. Estimates are free at (443) 274-4231.
The Bottom Line
Your chimney is a system with a finite number of failure modes: draft problems, moisture intrusion, creosote buildup, and liner deterioration. Each has observable symptoms you can catch early, and each it has a point where only a camera-scan inspection can tell you what’s really happening. Annapolis homeowners face salt-air corrosion, freeze-thaw cycles, and older masonry stock that accelerate those failures. Work the checklist between professional visits, log what you find, keep the photo records, and call when you see something that doesn’t look right. For additional help, browse our more guides & resources. The chimney that’s maintained on schedule is the one that never makes an emergency appearance in your life.
Written by Corrine Halstead, Owner at Level Two Chimney Annapolis, serving Annapolis since 2009.